USER REGISTRATION
If you don't currently have a website password as a Tutor or Staff member, you will need to register on the site using Website Registration. After identifying yourself with membership number and email address, you will be asked to enter a unique username and password. The system will send you an email to confirm that it is you. You must reply to this email in order to activate the password. You can then login to the website via the Login screen at top right of home page. (Logins are not currently available on phones because of the limited screen space available to run the forum, so you must use a desktop PC, laptop, iPad or tablet.)
ACCESSING THE FORUM
To access the Forum, click on Discussion Forum in the Member menu after you login. Tutors can also find this on the Tutor menu.
FORUM MAIN PAGE
Page Header
All forum pages show a header section which can used to navigate around the forum:
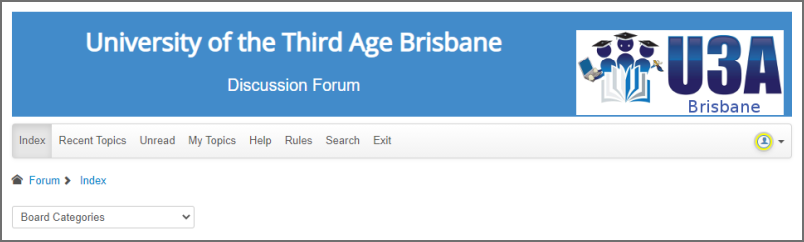
The Navigation Bar (Index, Recent Topics etc.) should be self-explanatory. Click on an individual element to go to that page. Initially the forum opens on the main Index page. If you are on any other page you can click on the Index element to return to the Index.
The blue Forum > Index links show the hierarchical levels to reach the current view. You can click on any of the blue links to return to a higher level.
The Board Categories dropdown allows you to navigate directly to a particular section or forum category.
Forum Index
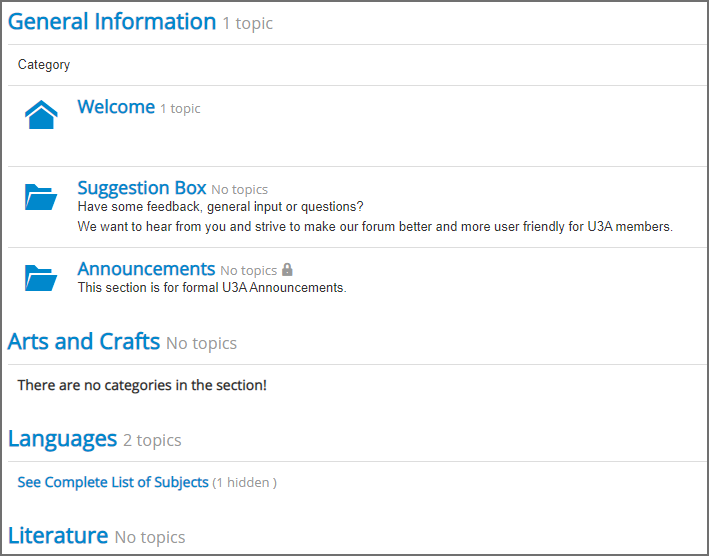
The Forum Index is a list of the different Sections of the forum. Click on any of the blue section names to go to that section, e.g. Languages.
READING AND POSTING
To see current topics, navigate to the appropriate Section and Category by clicking on the relevant blue name. For example, the French Category under Languages might bring up a page as below.
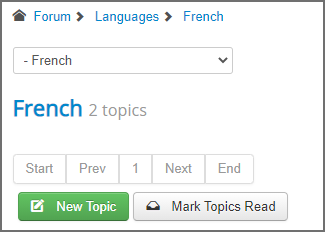
Beneath this heading will be the most recent Subjects with the latest at the top. Click on any subject name to read the messages in that thread. To start a new topic within this category, click on the green New Topic button. You can also reply to an existing message by clicking on the drop-down Action button and selecting Reply.
When you click New Topic or Reply an edit screen will open to enable you to create your message: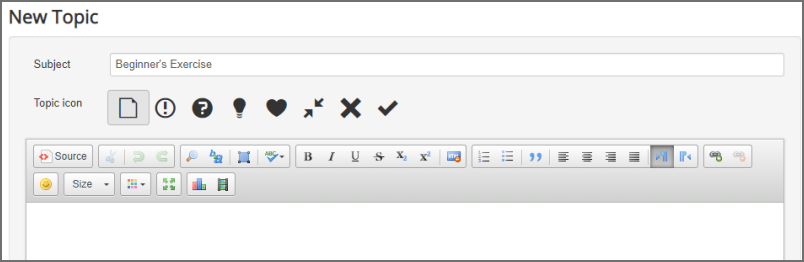
You can type directly into the edit space and you may use the formatting icons (bold, italics, colour etc.) similar to composing a Word document. When you have finished, click on the green Submit button at the bottom of the screen. If you make a mistake, open the message you created and use the Action dropdown to select Edit and modify your text.
Hover over any of the icons to see what they do. You should avoid the Source button unless you know how to use what are called BBcodes. If you accidentally click the Source button, the other icons will be greyed out. Click on the Source button again to restore them.
INCLUDING LINKS
You can include a hyperlink to a website URL by simply pasting it into the text editing box. You can also have the link show some displayed text instead of showing the URL by using the Link icon ("chain" symbol at end of first line of editing icons).
IMAGES AND ATTACHMENTS
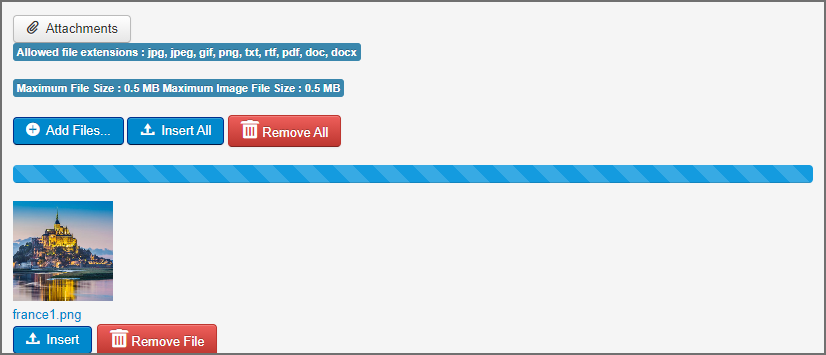
Attachments may be added to any post by clicking on the Attachments icon below the edit window. Only certain file types may be uploaded (e.g. images and documents) but the list may be extended if there is need. There is also a limit of 10MB on file sizes in order to limit storage on the system. Again this can be amended by the Forum Administrator if demand warrants. After you click the Attachments icon the following dialogue will appear:

Click on the Add Files button to select a file to upload. You will be asked to select a file from your local computer. A loading bar will then appear for a few seconds while the file uploads. The dialogue will then appear as below (in this example an image was uploaded and the image appears as a thumbnail at this point):
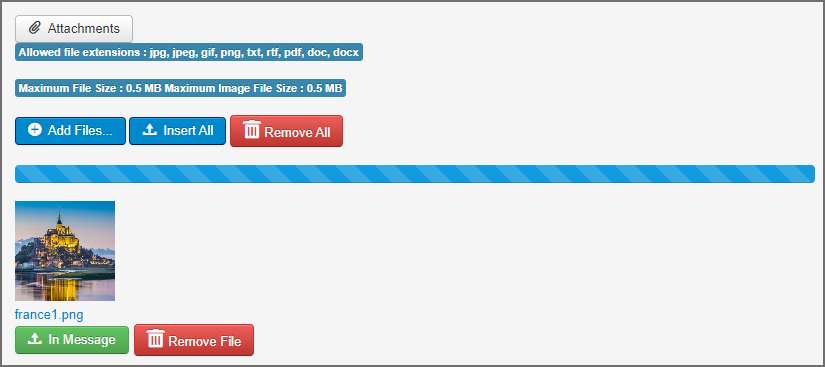
Important: With image uploads you typically want to insert the image within the post, so you should press the Insert button to do this. For documents you may optionally press Insert, in which case the document will appear as a download link in the body of the message. If you click Insert for a PDF, the file will appear in a Preview window which includes an icon to download the file. If you don't press Insert the file will appear as an attachment link below the message. The dialogue then changes to the following. Do not press In Message button or the file will be inserted twice.
You can now add more files using the Add Files button. When finished, click the Submit button lower down to add the post to the forum. As always, you may Edit your post afterwards if you need to correct anything.
After submitting a post containing an inserted image attachhment, the image will appear in the post as in this example:
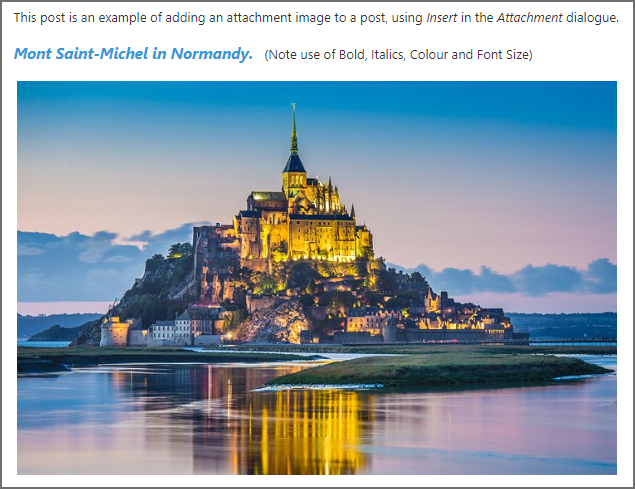
Image File Sizes
Images from a good camera or phone are often several megabytes in size and too big to display in a web browser. You should re-size large images to about 800 pixels wide using an Image Editor such as Windows Paint or Irfanview.
VIDEOS
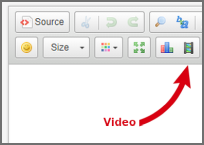 Videos can be embedded in a post using the Video icon (the "film strip" icon at the end of the second row of icons in the edit window). A dialog box will then open as shown below.
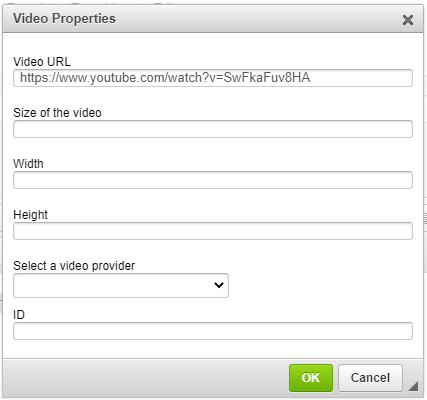
In the Video Properties window as shown at left you only need to enter the video URL and press OK.
If you post a YouTube link directly into the edit window it will be automatically embedded. This means it can be played in the forum window instead of opening another browser tab.
Videos initially open within the small visible window. They can be switched to full screen by the user by clicking on the Full Screen icon at bottom right of the video window. Pres ESC to return to the original size.
ADD AN AVATAR
![]()
Profile Icon
Your Avatar is a small personalised image that displays next to your posts to the forum. It is typically your photo. If you have a suitable photo and want to display this with your forum posts, look at top right of the forum screen for the Profile icon as shown above. Click on that and a drop-down menu will appear. Select Preferences from the drop-down menu, then select Avatar Image. You will see the window below where you can select the Add Avatar button. This will enable you to select an image from your computer to upload.
Select the Save button and you are done. If you change your mind and want to remove the photo, go through the process above again but select Remove the Avatar.
POLLS
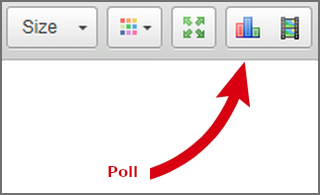
A poll may be added to the forum by clicking on the bar chart icon in the editing box (second last icon on the second row). A dialog box will then open as shown below.
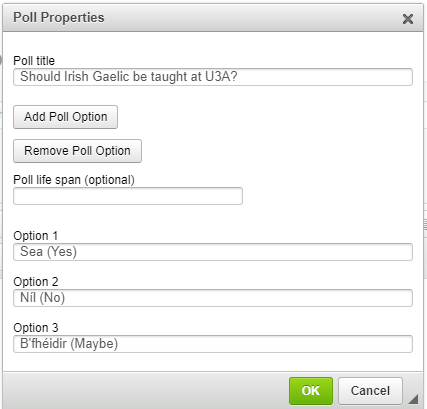
Initially two poll response options will appear, but you can add more options by clicking on the Add Poll Option button. You can optionally include a finish date for the poll by selecting a date in the Poll life span (optional) field.
When finished setting up the poll, select OK.
Note: the poll does not appear in the editing window itself, but will appear in the post after you click Submit.
You must insert some text in the editing window or you will be unable to submit the post.
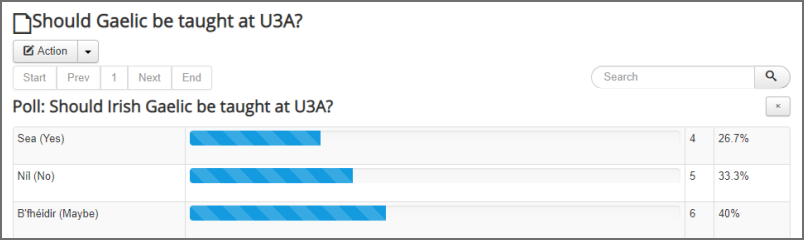
Forum members may then vote in the poll, and the results will be presented in graphical form: